Bionic Finger Project
Why do we need bionic limbs?
Bionic limb is one of the greatest inventions in the world. When an arm or other extremity is amputated or lost, bionic limbs can play an important role in rehabilitation. For many people, an artificial limb can improve mobility and the ability to manage daily activities, as well as provide the means to stay independent.
Materials:
1. A 3D printed finger, which are moving with the motor

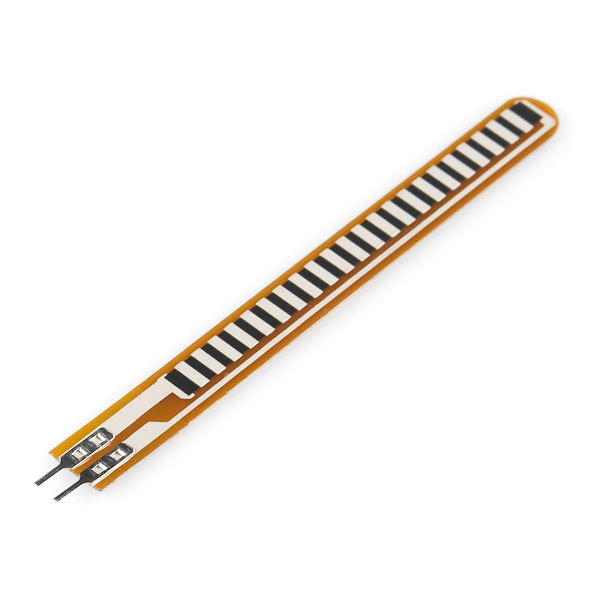
2. A flexsensor. It senses how far your finger has moved and provides the Arduino board with a changing value so that finger can move correspondingly.

3. A sheet of transparent overhead plastic, which is used to connect the 3D printed finger.

4. Fishman wire, which is also used to connect the finger and make sure the components of the finger won't separate

5. An Arduino board and laptop to code on. The Arduino board stores the code after you disconnect with laptop, and it transmits code to all the needed parts.


6. A USB cable that can connect the laptop to the Arduino board to transmitt code.

7. A SG90 microservo, which can pull the string to curl up the finger

8. A wooden board for puting all the components on
Steps:
1. Cut out strips of the overhead plastic and double it up so that it can fit between the gaps of the 3D printed finger. Then use hot glue to secure them. (tip: make sure the length of plastic strips is just right. If the strips is too short it will be difficult to bend the finger).
2. Thread the fishman wire through the whole of bionic finger and use hot glue to secure it on the finger tip.
3. Tie the other end of the fishman wire to the furthest hole of the microservo.
4. Attach the wires from the microservo to your Arduino board. If you are using the nanoboard, the brown wire should attach to G, the red wire has to attach to V, and the yellow wire has to attach to S. The number changes depending on the the number of the pin in your code, but make sure they are the same.
5. Attach the wires from the flex sensor to the analog pins in your Arduino board. The number will also change depending on the the number of the pin in your code, make sure they are the same and the wire should be attached to G and S.
6. Use the USB cable to connect your board and laptop. In the next section I will explain the code.
7. Stick the finger on the edge of the wooden board by using the hot glue. Then, secure the microservo on the wooden board. Make sure the wire is not too loose or tight so that the finger can back to return to a straight position and can be bent normally.
8. The result will look like this:

Then just attach the usb wire to your laptop and upload your code, bend the flexsensor and you will see the 3D printed finger will move with you!
Code:
Type this code in Arduino


